Product
 Overview
 Graphic
 Technical
 Configuration
 Related
Product
- Overview
- Graphic
- Technical
- Configuration
- Related
-
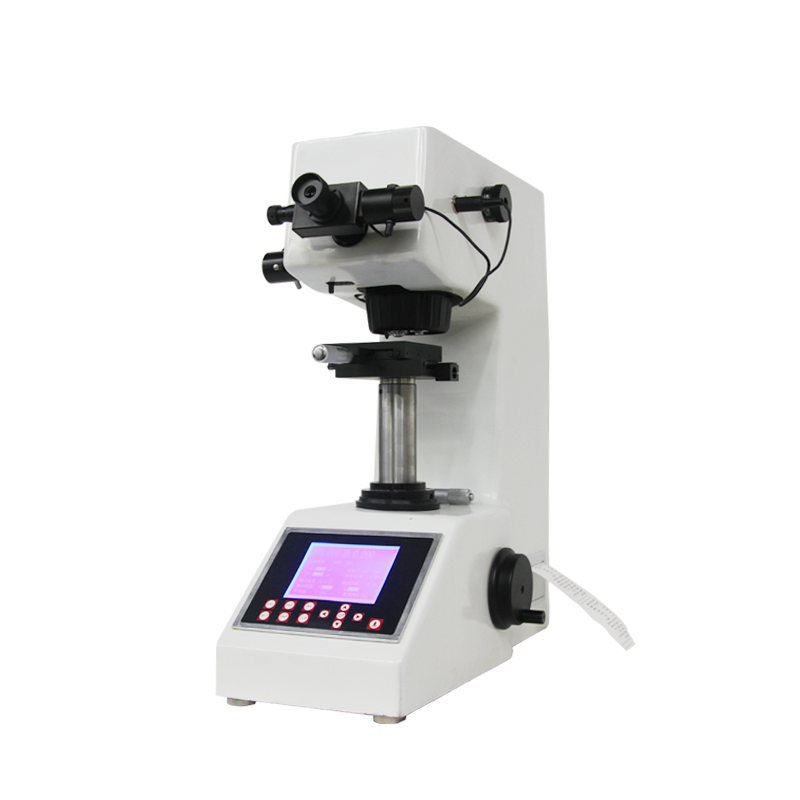
 Product Overview
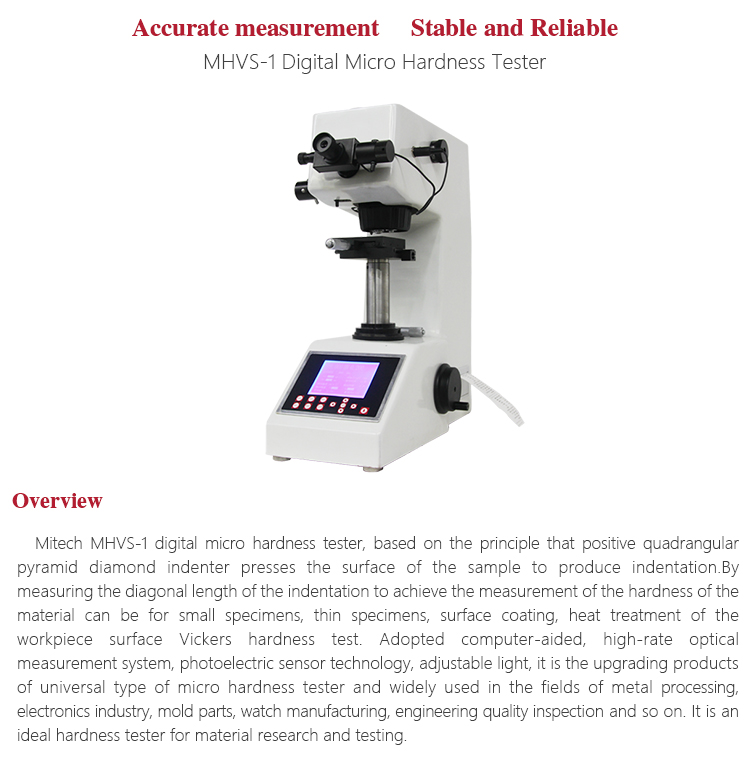
Mitech MHVS-1digital micro hardness tester, based on the principle that positive quadrangular pyramid diamond indenter presses the surface of the sample to produce indentation.By measuring the diagonal length of the indentation to achieve the measurement of the hardness of the material can be for small specimens, thin specimens, surface coating, heat treatment of the workpiece surface Vickers hardness test. Adopted computer-aided, high-rate optical measurement system, photoelectric sensor technology, adjustable light, it is the upgrading products of universal type of micro hardness tester and widely used in the fields of metal processing, electronics industry, mold parts, watch manufacturing, engineering quality inspection and so on. It is an ideal hardness tester for material research and testing.
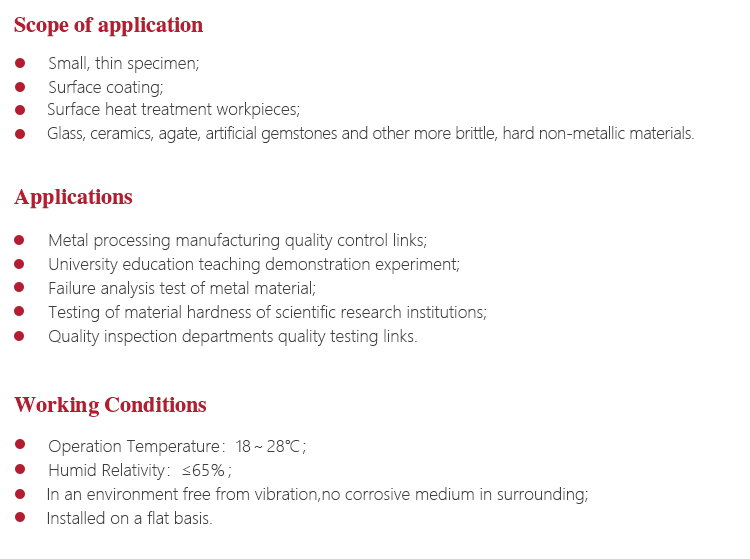
 Function & applicationMetal processing manufacturing quality control linksUniversity education teaching demonstration experimentFailure analysis test of metal materialTesting of material hardness of scientific research institutionsQuality inspection departments quality testing links
 Working Principle
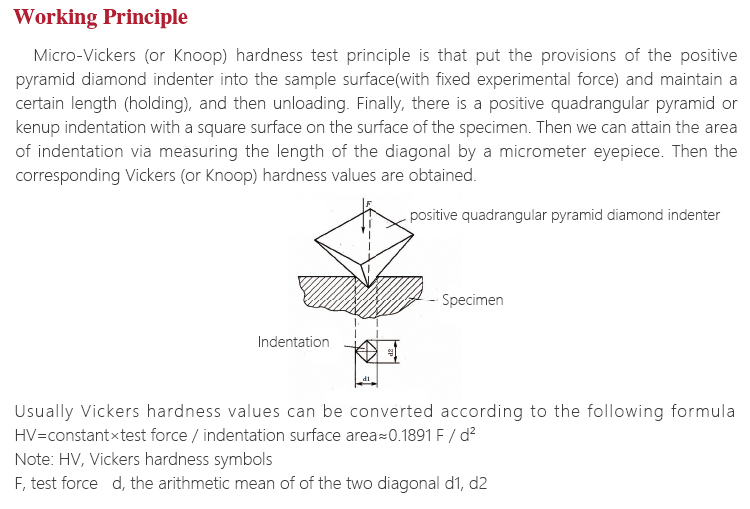
Micro-Vickers (or Knoop) hardness test principle is that put the provisions of the positive pyramid diamond indenter into the sample surface(with fixed experimental force) and maintain a certain length (holding), and then unloading. Finally, there is a positive quadrangular pyramid or kenup indentation with a square surface on the surface of the specimen. Then we can attain the area of indentation via measuring the length of the diagonal by a micrometer eyepiece. Then the corresponding Vickers (or Knoop) hardness values are obtained.
Usually Vickers hardness values can be converted according to the following formula
HV=constant×test force / indentation surface area≈0.1891 F/d2
Note:
HV, Vickers hardness symbols
F, test force
d, the arithmetic mean of of the two diagonal d1, d2
 Working Conditions
Operation Temperature:18~28℃;
Relative Humidity:≤65%;
In an environment free from vibration,no corrosive medium in surrounding.
Installed on a flat basis.
<!--[if !supportLists]--><!--[endif]-->
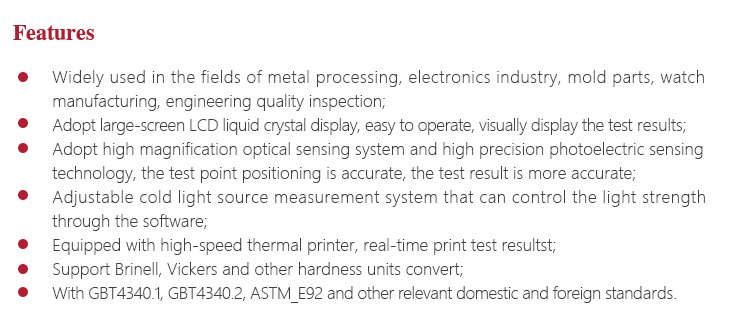
 Instrument FeaturesWidely used in the fields of metal processing, electronics industry, mold parts, watch manufacturing, engineering quality inspection.Adopt large-screen LCD liquid crystal display, easy to operate, visually display the test results;Adopt high magnification optical sensing system and high precision photoelectric sensing technology, the test point positioning is accurate, the test result is more accurate;Adjustable cold light source measurement system that can control the light strength through the software;Equipped with high-speed thermal printer, real-time print test resultst;Support Brinell, Vickers and other hardness units convert.With GBT4340.1, GBT4340.2, ASTM_E92 and other relevant domestic and foreign standards.
 Operating Method and Attentions
 Instrument Maintenance
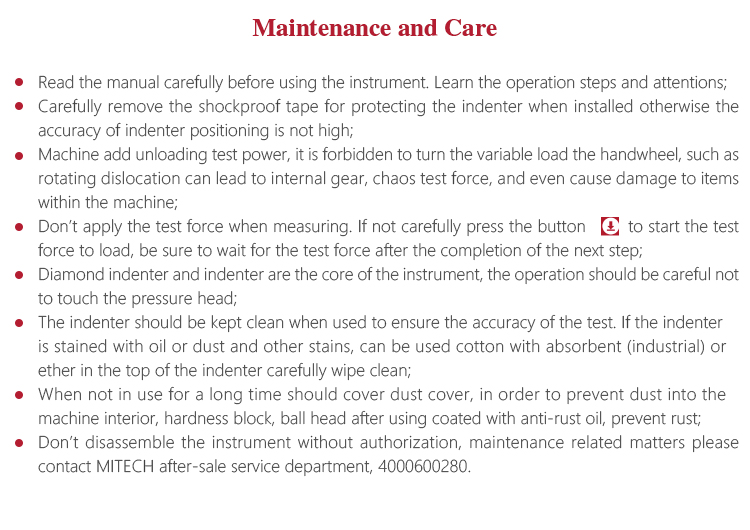
Read the manual carefully before using the instrument. Learn the operation steps and attentions to avoid damage the instrument or personal safety accidents caused by improper operation;
Carefully remove the shockproof tape for protecting the indenter when installed otherwise the accuracy of indenter positioning is not high.
Machine add unloading test power, it is forbidden to turn the variable load the handwheel, such as rotating dislocation can lead to internal gear, chaos test force, and even cause damage to items within the machine;
Don’t apply the test force when measuring. If not carefully press the button
 to start the test force to load, be sure to wait for the test force after the completion of the next step.
Diamond indenter and indenter are the core of the instrument, the operation should be careful not to touch the pressure head
The indenter should be kept clean when used to ensure the accuracy of the test. If the indenter is stained with oil or dust and other stains, can be used cotton with absorbent (industrial) or ether in the top of the indenter carefully wipe clean
When not in use for a long time should cover dust cover, in order to prevent dust into the machine interior, hardness block, ball head after using coated with anti-rust oil, prevent rust;
Don’t disassemble the instrument without authorization, maintenance related matters please contact MITECH after-sale service department, 4000600280
-



-
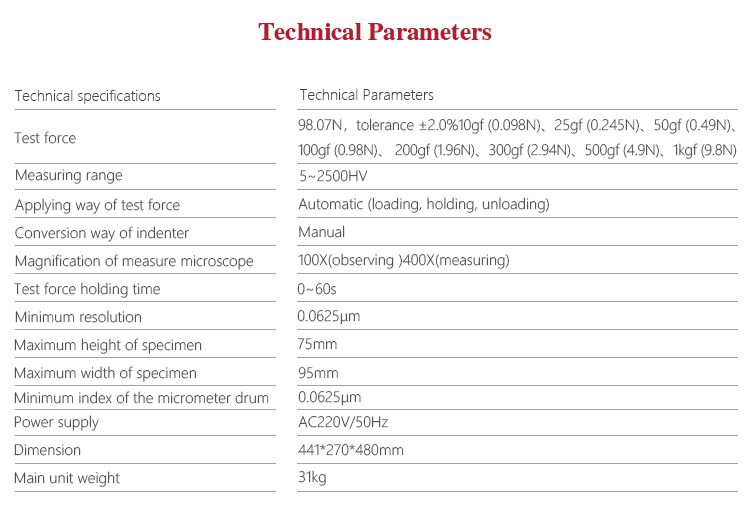
Test force 98.07N,tolerance ±2.0%10gf (0.098N)、25gf (0.245N)、50gf (0.49N)、100gf (0.98N)、 200gf (1.96N)、300gf ( Measuring range 5~2500HV Convert ruler HRA、HRB、HRC、HRD、HR15N、HR30N、HR45N、HR15T、HR30T、HR45T、HV、HK、HBW Display attributes LED Digital Display Applying way of test force Automatic (loading, holding, unloading) Conversion way of indenter Manual Magnification of measure microscope 100X(observing )400X(measuring) Test force holding time 0~60s Minimum resolution 0.0625μm Maximum height of specimen 75mm Maximum width of specimen 95mm Power supply AC220V/50Hz Dimension 441*270*480mm Main unit weight 31kg -
-
郵箱反饋
如您在和我公司的交往中遇到問題,可通過以下方式和我們?nèi)〉寐?lián)系!
您也可以撥打我們客戶服務(wù)熱線:400-0600-280


